How to setup a Wavlink extender in a home network?
You can perform a Wavlink extender setup either using a wired connection or a wireless connection method. New users are being recommended to set up the range extender through a wired connection via Ethernet cable. You must use a web browser setup method to have more knowledge about the features and various functions of the Wavlink range extender.
Steps to setup a Wavlink range extender in a home network
- Unpack the range extender and adjust its antennas.
- Note: You can take the help of the Quick setup guide that comes along with the range extender.
- Connect the range extender to a power source.
- Once the range extender successfully gets turn on, move on to the computer or mobile and turn on its Wifi.
- Scan for the available Wi-fi networks.
- Connect to the Extender’s Wi-fi network using the default wireless settings.
- Note: You can find the extender’s default Wireless Settings on the Wi-fi configuration card that comes along with it.
- Make sure you apply the correct Wi-fi password otherwise you won’t get connected.
- Once you get connected to the extender’s network, open a browser on the computer.
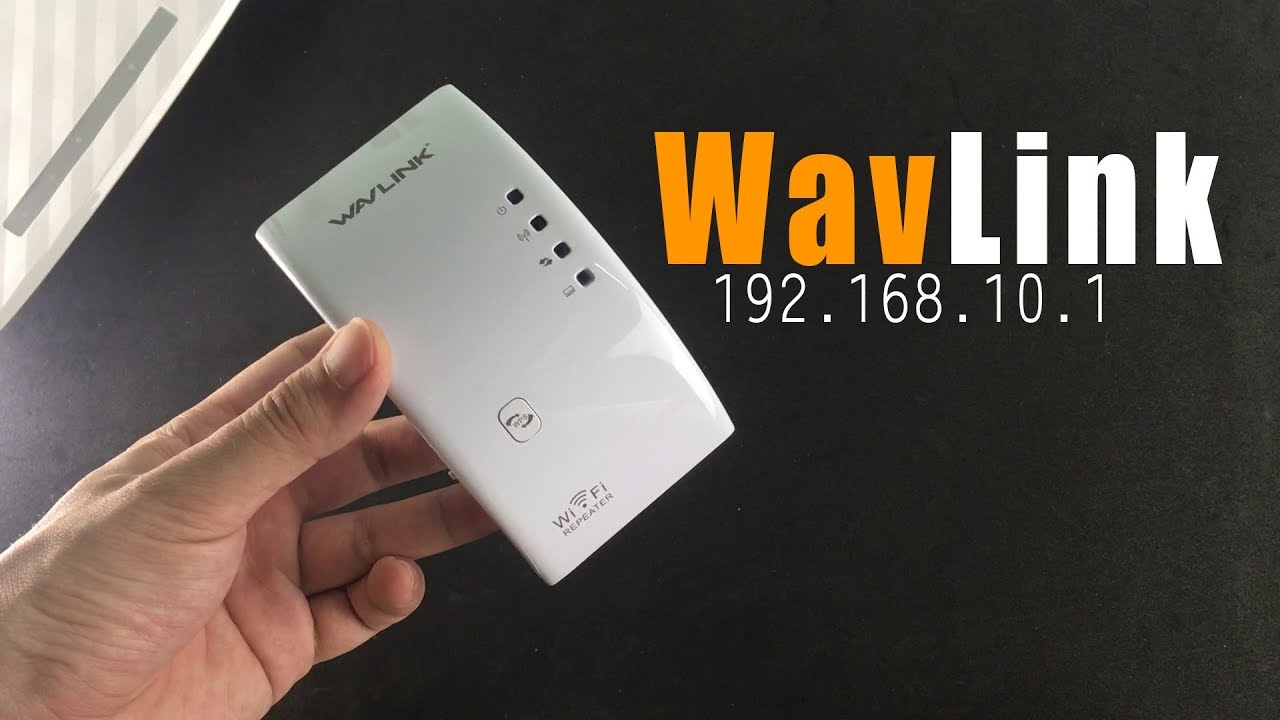
- Type 192.168.10.1 or wavlink.com on the address bar of the browser.
- Hit enter and the configuration page appears on the screen.
- Type down the default login password in the provided field and hit Login.
- The default login password of the Wavlink range extender login window is “admin”.
- Select the Country regions, Time zone and assign a login password.
- Assign the Time zone from the drop-down list. It is based upon the region from where you are operating the extender.
- Click Next when you get done.
- Personalize the Wi-fi settings by assigning a new Network Name and Wi-fi password.
- If you want to apply the same Wi-fi password to both the Wi-fi bands, select the “Use the same password for both the networks” option.
- Assign a security level to a router’s network.
- Note: Do not assign an open security level to the router. It creates a blockage for unknown users to deny you from accessing the network.
- Once done click Next.
- Now review the settings you made with the help of the summary page.
- Click Finish.
- The range extender initiates the reboot process to apply the settings you made.
- Wait for a couple of seconds to let the process complete.
- Once done, go to the desktop and connect to the extender’s network using new Wireless settings.
- Once connected login to the wifi.wavlink.com interface using a new login password.
- Click Login.
- You can access the features and settings of the Wavlink range extender.
Note: You can relocate the range extender once the setup process gets done. You can take the help of the signal LED of the Wavlink range extender to find an appropriate location for the device. If the blue LED appears on the Signal LED, it means the Wi-fi range extender is in a good spot and if the Red LED appears, it means you need to bring the main router closer to the range extender.