Why wifi.wavlink.com is not working?
Users unable to access the wifi.wavlink.com interface won’t be able to control and manage the extender. A user must resolve the wifi.wavlink.com issue immediately to avoid interruptions and illegal activites in the network. There could be several reasons behind the failure of the wifi.wavlink.com interface. Users are recommended to have an Ethernet connection between the devices to smooth out the login process.
Here are the troubleshooting steps that a user has to follow to resolve the wifi.wavlink.com issue
- Check the hardware connection and the LED of the Wavlink extender - If you have a wired connection, make sure that the indicator along with the LAN Port is lit. If the LED is lit, it means the physical connection between your devices is proper. You may proceed to the next troubleshooting step.
- If you are using a wireless connection, switch to the wired one - Use an Ethernet cable connecting its one end to the computer and the other end to the LAN port of the Wavlink extender.
- Make sure that the computer has obtained the correct IP address - You can check the IP address of your computer through its control panel. Ensure that the computer contains the correct IP address. Proceed to the next troubleshooting step if you still cannot log in to the wifi.wavlink.com interface.
- Try using another browser or delete the cookies of the current browser- Open the browser and go to the Tools option then click on the Internet option. Select the “Delete browsing history” option then click on the Delete option. Select the items you want to clear out such as Temporary Internet files, cookies, browsing history, downloaded history, etc. The process gets started with the name Deleting history, click on the Ok button, and close the dialogue box in the end.
- Perform the reset process on your extender - Find the reset button on the back panel of the Wavlink range extender. Hold the reset button for around 10 seconds and when all the indicators of the device get turned off, release the button. All settings including network, administrative, and configurations will get removed from your Wavlink device. You need to proceed to the next troubleshooting step if you still cannot log in.
- Update the drivers of your computer- You may have to update the drivers of the computer to log in to the wifi.wavlink.com interface. You can refer to the manual guide for more information. After updating the drivers, check whether you are able to visit the wifi.wavlink.com interface or not.
Note: You can contact the Wavlink support team for any issue related to the damage and hardware. If your Wavlink extender will be within the warranty, you can replace it with a new one.
How to connect the Wavlink extender to the Wifi?
To set up the Wavlink extender in your home network, the most important thing to do is to connect it to the Wi-fi. A user can use the default credentials that are mentioned over the Wi-fi configuration card or the manual guide to connect to the Wi-fi of the Wavlink extender.
- Plugin the Wavlink range extender to the power source. Turn on the power switch.
- Wait for a few seconds to allow the Power LED to turn on.
- Go to the Wi-fi settings of your computer or mobile device.
- Select the Wavlink network name and connect to it typing down the default Wi-fi password.
You can fetch the default wireless settings of the Wavlink range extender through its product label pasted on its back.
- When you get connected to its Wi-fi, go to the browser and type wifi.wavlink.com on the address bar to carry on to the configuration process.
- Select the language you want to use for the interface and type down the default admin password on the password tab.
- Click on the login button.
- Now select the country region from where you are going to operate the range extender.
- Select the time zone according to the region you selected.
- Set up a new login password for the Wavlink extender login window from the login password tab.
- Click on the Next button when you are done.
- Personalize the Wi-fi settings of your extender including the network name, Wi-fi password, and security level for the extended network.
- Perform all other configurations carefully including accepting the terms and conditions.
- Click on the Apply button when you are done.
- Go back to the Wi-fi settings of your computer and check the SSID name you assigned.
- Connect to the extended network using the correct Wi-fi password you assigned in the provided field. Click on the Connect button to connect to the network.
Note: You can keep the default Wi-fi settings for the extended network, by not changing any Wireless settings during the configuration process. However, users are recommended to change the wireless settings for security reasons. You can change the wireless settings of the range extender anytime using the wifiwavlink.com interface.
How to log in to the Wavlink range extender?
The login process is used whenever a user wants to interact with the web utility of the Wavlink extender. It is performed when a user tries to visit the web management window through the computer. If you are using a mobile device you don’t have to perform the login process, you can directly access the menu Dashboard until or unless you haven’t signed out.
Steps to login to the Wavlink range extender
- Launch a browser on your computer connected to the extended network.
- Type wifiwavlink.com on the web address bar of the browser. If you face any kind of error, type the LAN IP address of the extender as the URL of the browser.
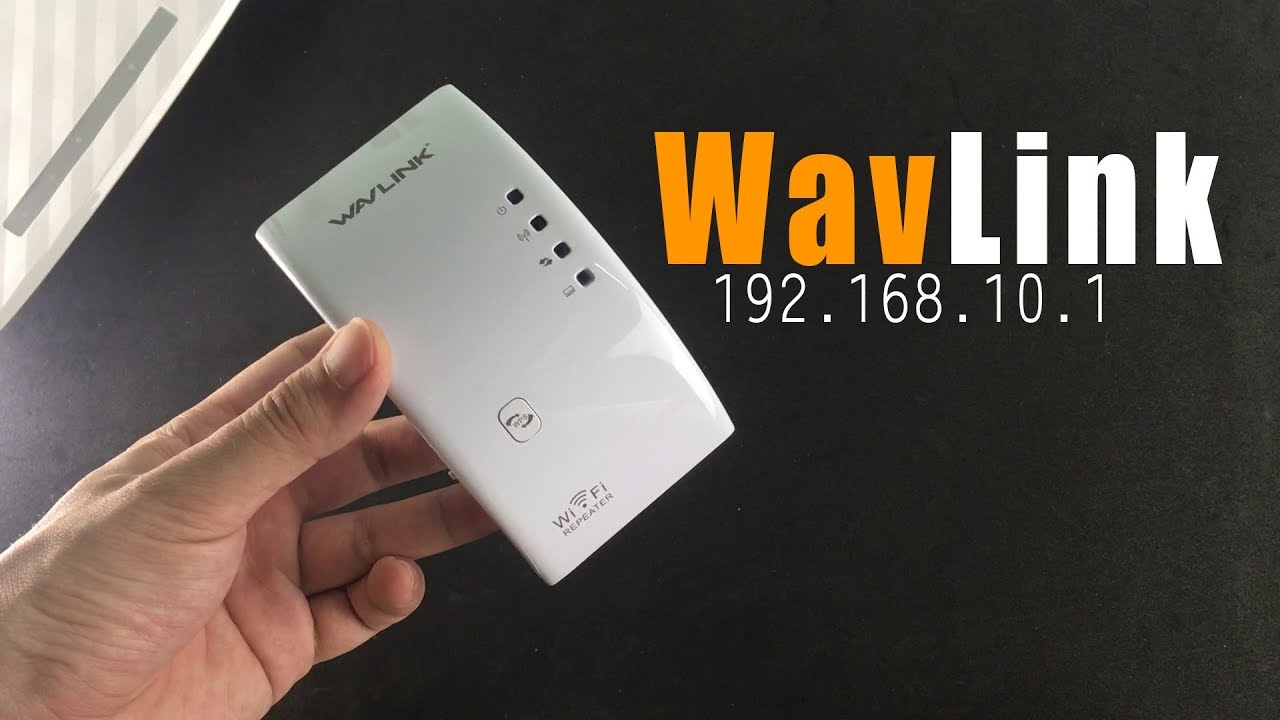
- The IP address of the Wavlink extender is 192.168.10.1
- Hit the enter button and the default Wavlink extender login window appears on the screen.
- Type “admin” as the username and mention the password you assigned during the setup process. Type “admin” on the password field, if you haven’t changed the default password yet.
- Both the login credential fields are case-sensitive.
- Click on the login button to log in to the wifi.wavlink.com window. Now you can access all the features and settings of the Wavlink range extender.
Note: Make sure you fulfill all the requirements while typing down the login password for the login window. Users are advised to enable the password recovery feature so that if you forget the admin password, you can easily recover it.
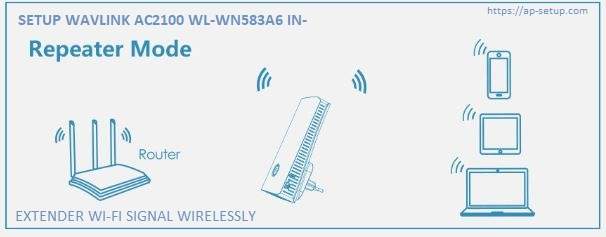
How to connect the Wavlink range extender to th
e router?During the setup process, the most vital step is to connect your range extender to the router. A user has to know the Wireless credentials of the router, to connect his extender to the router. The performance of the extender majorly depends upon the network status of the router. Ensure that your extender is within the range of the router’s network.
Here are the steps to connect the Wavlink range extender to the router
- When you are connected to the Wi-fi network of the range extender. Visit the configuration page of the Wavlink extender.
- Select the language you want to use for the interface and type down the default admin password on the password tab.
- Click on the login button.
- Now select the country region from where you are going to operate the range extender.
- Select the time zone according to the region you selected.
- Set up a new login password for the Wavlink extender login window from the login password tab.
- Click on the Next button when you are done.
- Personalize the Wi-fi settings of your extender including the network name, Wi-fi password, and security level for the extended network.
- Check the “select” a Wi-fi option and the list of the available Wi-fi networks appear on the screen.
- Select the Wi-fi name of the router and type the Wi-fi password of the router on the provided field
- If you have a dual-band router, type down the SSID name of both the Wi-fi name on their respective fields.
- You also have to select the Repeater mode from the required option. Gateway is the mode recommended to the users.
- Click on the Connect button when you are done.
- You need to wait for a few seconds to allow the extender to get connected to your router.
- You have to reconnect to the extender when the current settings get completed.
Note: If it’s the first time you are connecting to the Wavlink extender, you don’t have to go through the login window. Once you are connected wirelessly to the extender, you will be automatically redirected to the wifi.wavlink.com configuration page. If you are not automatically redirected, you have to manually type wifi.wavlink.com on the web address of the browser. You can also type 192.168.10.1 as the URL of the browser.